
Photo Management
On this page
5.4 Photo Management
Photos must belong to the right person, have a correct source, meet quality requirements, and remain accessible. Main-photo behavior follows dynamic images in the layout: database, folder, and interface routes differ. Retain originals and trial small representative sets before batch processing.
5.4.1 Photo Preview
Compare the photo and credential previews for the same person. The former helps inspect the face; the latter shows the actual frame, crop, and interaction with artwork.
A single suitable dynamic image can normally identify the main photo. Multiple dynamic images require identifying the portrait; the first image is not necessarily it. No dynamic image can legitimately mean no main-photo panel on a printable static layout.
For blanks, check person, source, lookup field, folder naming/permissions, binary data, or interface response. Never substitute someone else's image to eliminate a blank.
5.4.2 Loading and Replacing Photos
Use the Add/Edit personnel form for official photo maintenance. Identify the person, load a readable JPG/JPEG/PNG/BMP/GIF, confirm orientation and subject, check numbering/naming fields, save the person, and reread both previews.
Database routes generally store bytes; folder routes use configured directory and naming fields. Interface images must be maintained through their business system, not presumed updated by a local preview adjustment.
Overwrite warning: local-file photo adjustments in the maintenance form may immediately save to the current photo path. Cancelling the form does not restore an overwritten file. Copy originals first; after Save As, verify which file the layout actually reads.
5.4.3 Capturing Photos
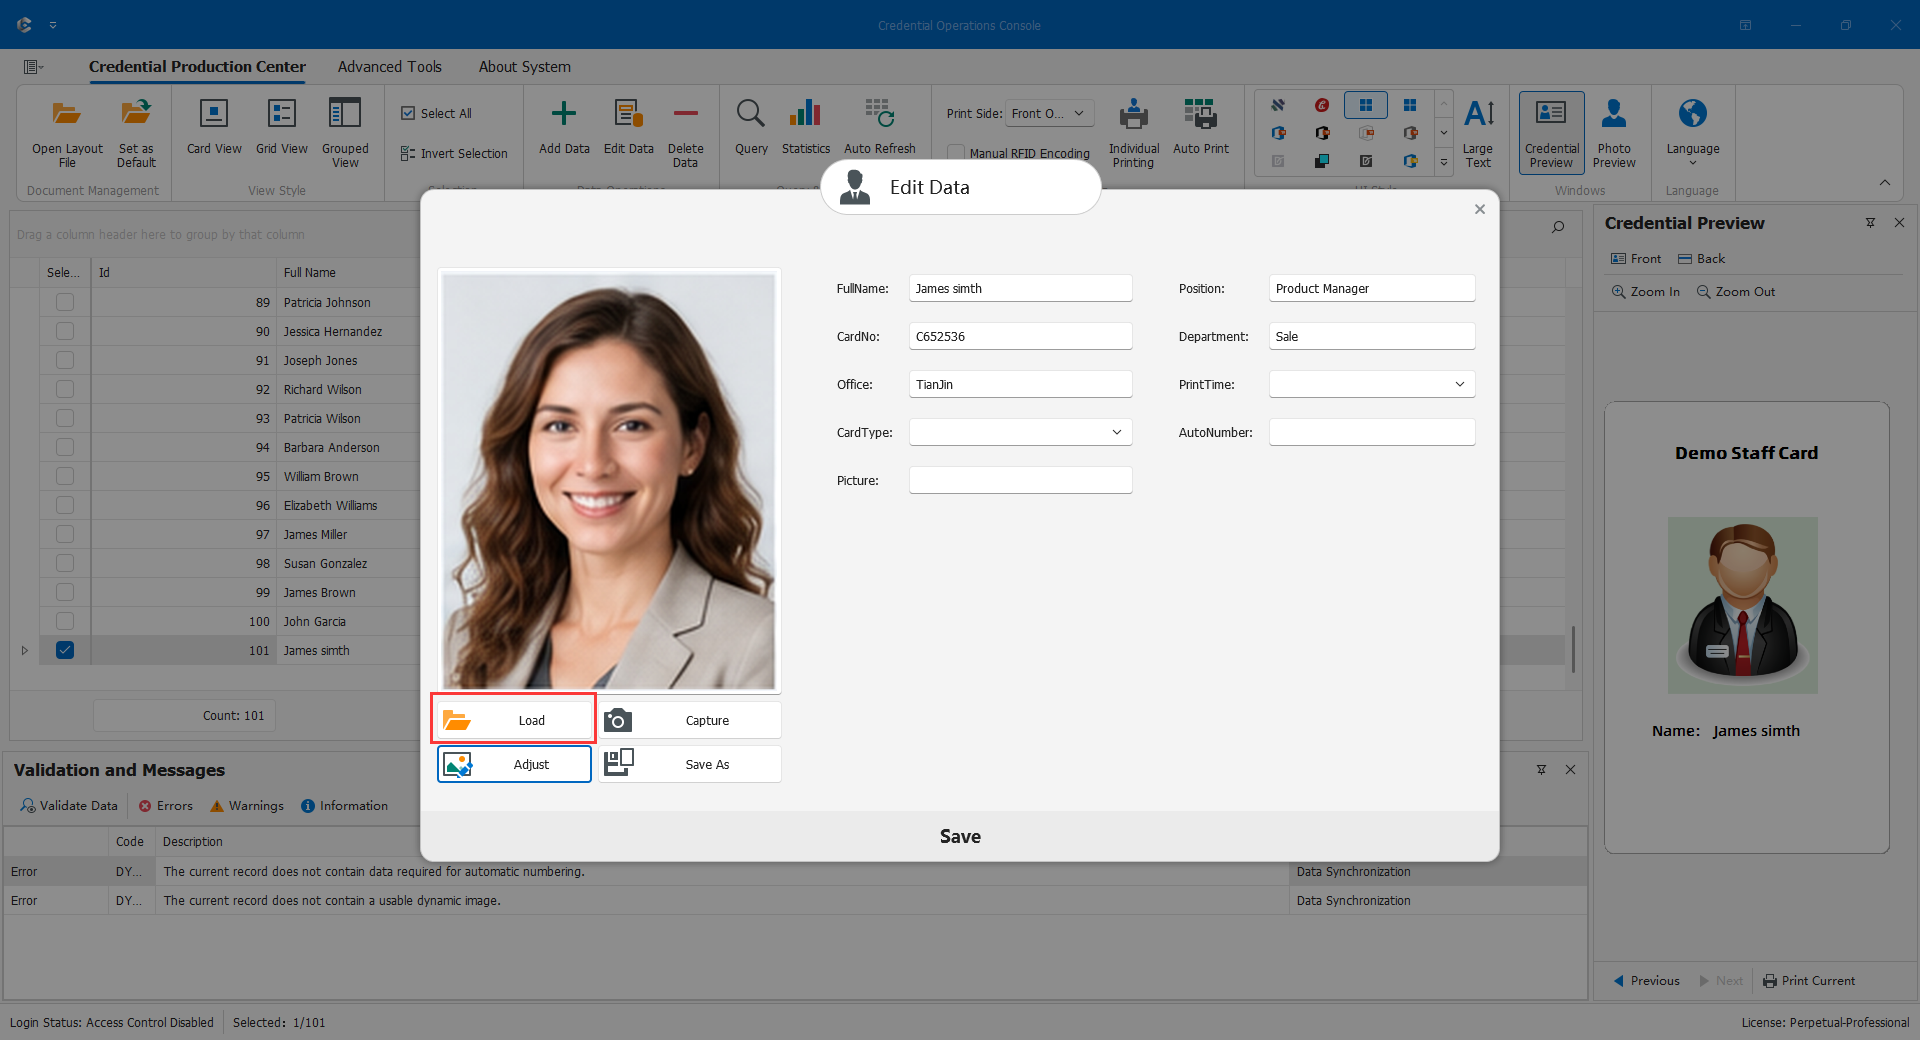
Check camera connection, Windows permission, lighting, and exclusive device access. Use even light and distinguishable hair/background edges. The capture window provides live view, settings, capture/retake, crop, and confirm. Head brackets, face-width, eye-band, head/shoulder, and rule-of-thirds guides support composition, not compliance certification, and are not intended as portrait content.
Inspect live orientation, choose cropping/output width and height, compose, capture, inspect sharpness, retake if necessary, crop, and confirm. Dimensions are pixels, not physical card millimeters.
Current integration boundary: the capture window has these functions, but the personnel form's Capture entry is not a fully integrated end-to-end workflow in this version. A button does not prove an image was returned and saved. Where not connected, use an approved external capture tool and load the file through 5.4.2.
5.4.4 Cropping and Adjusting Photos
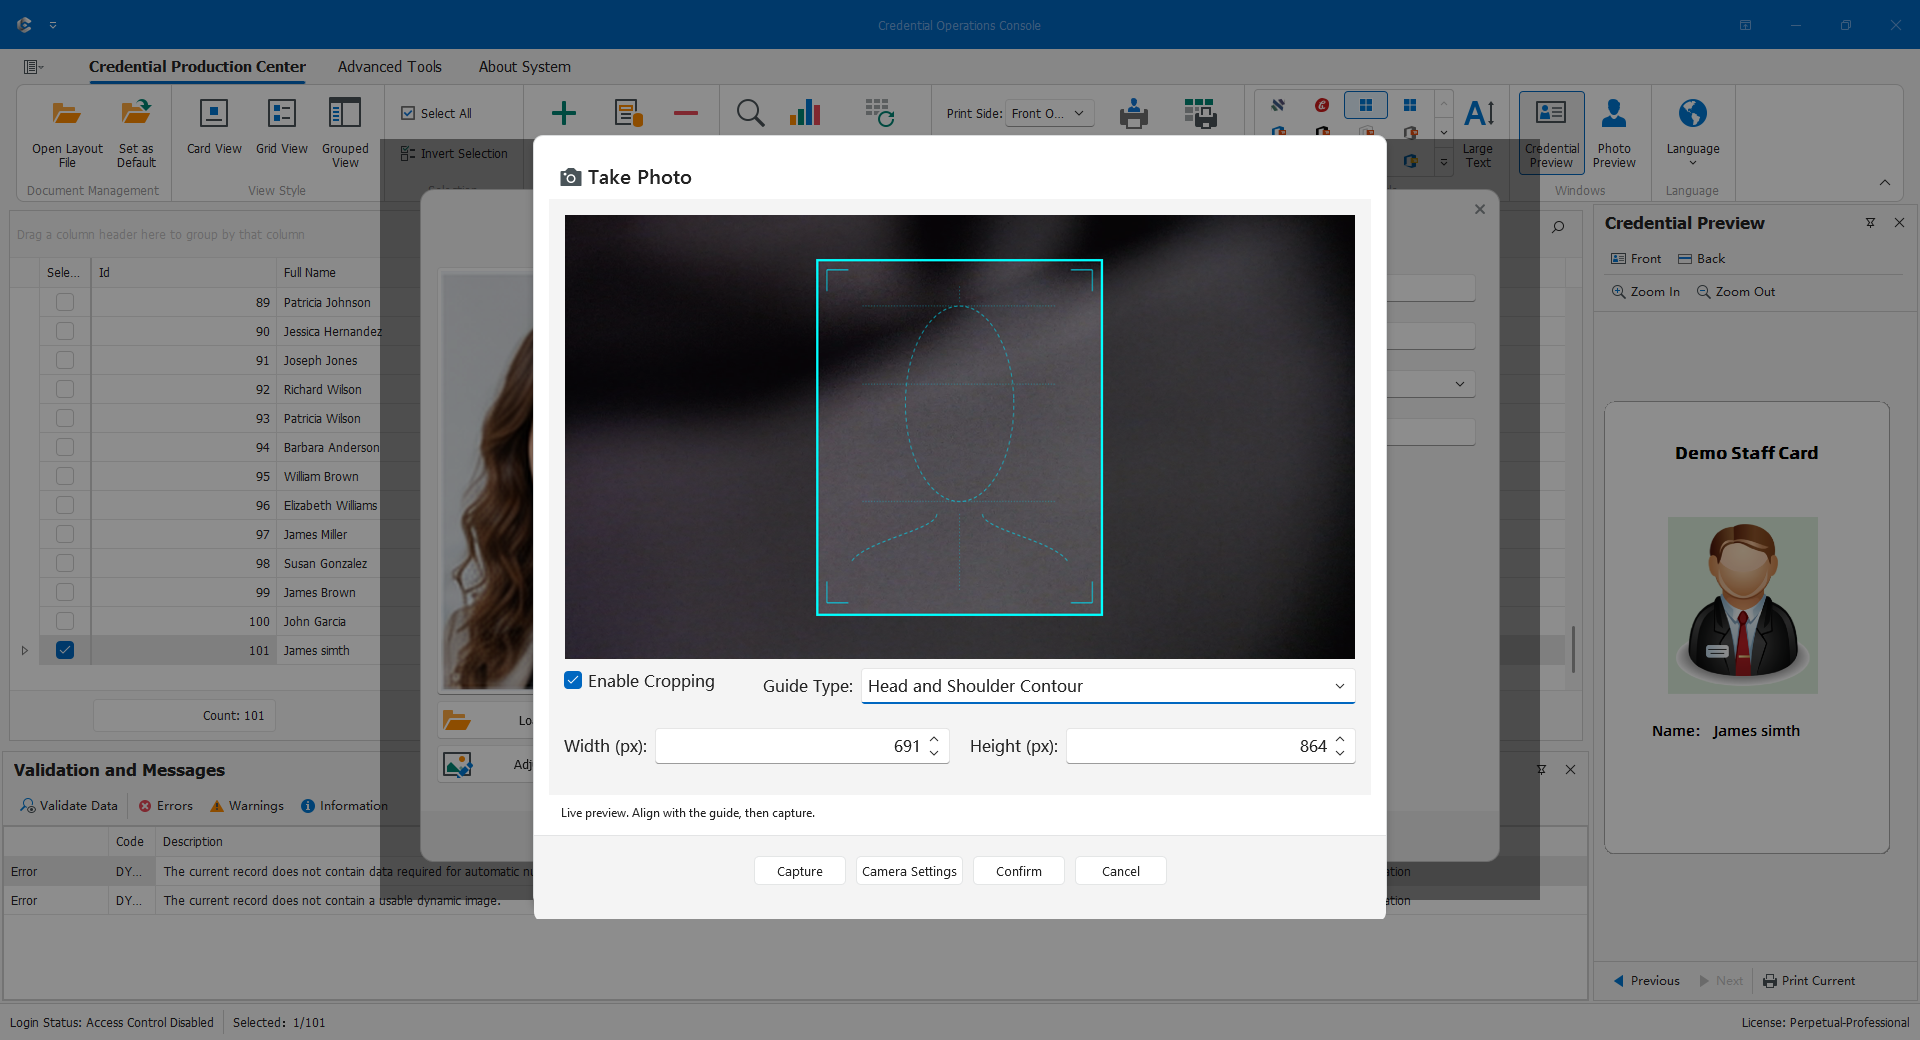
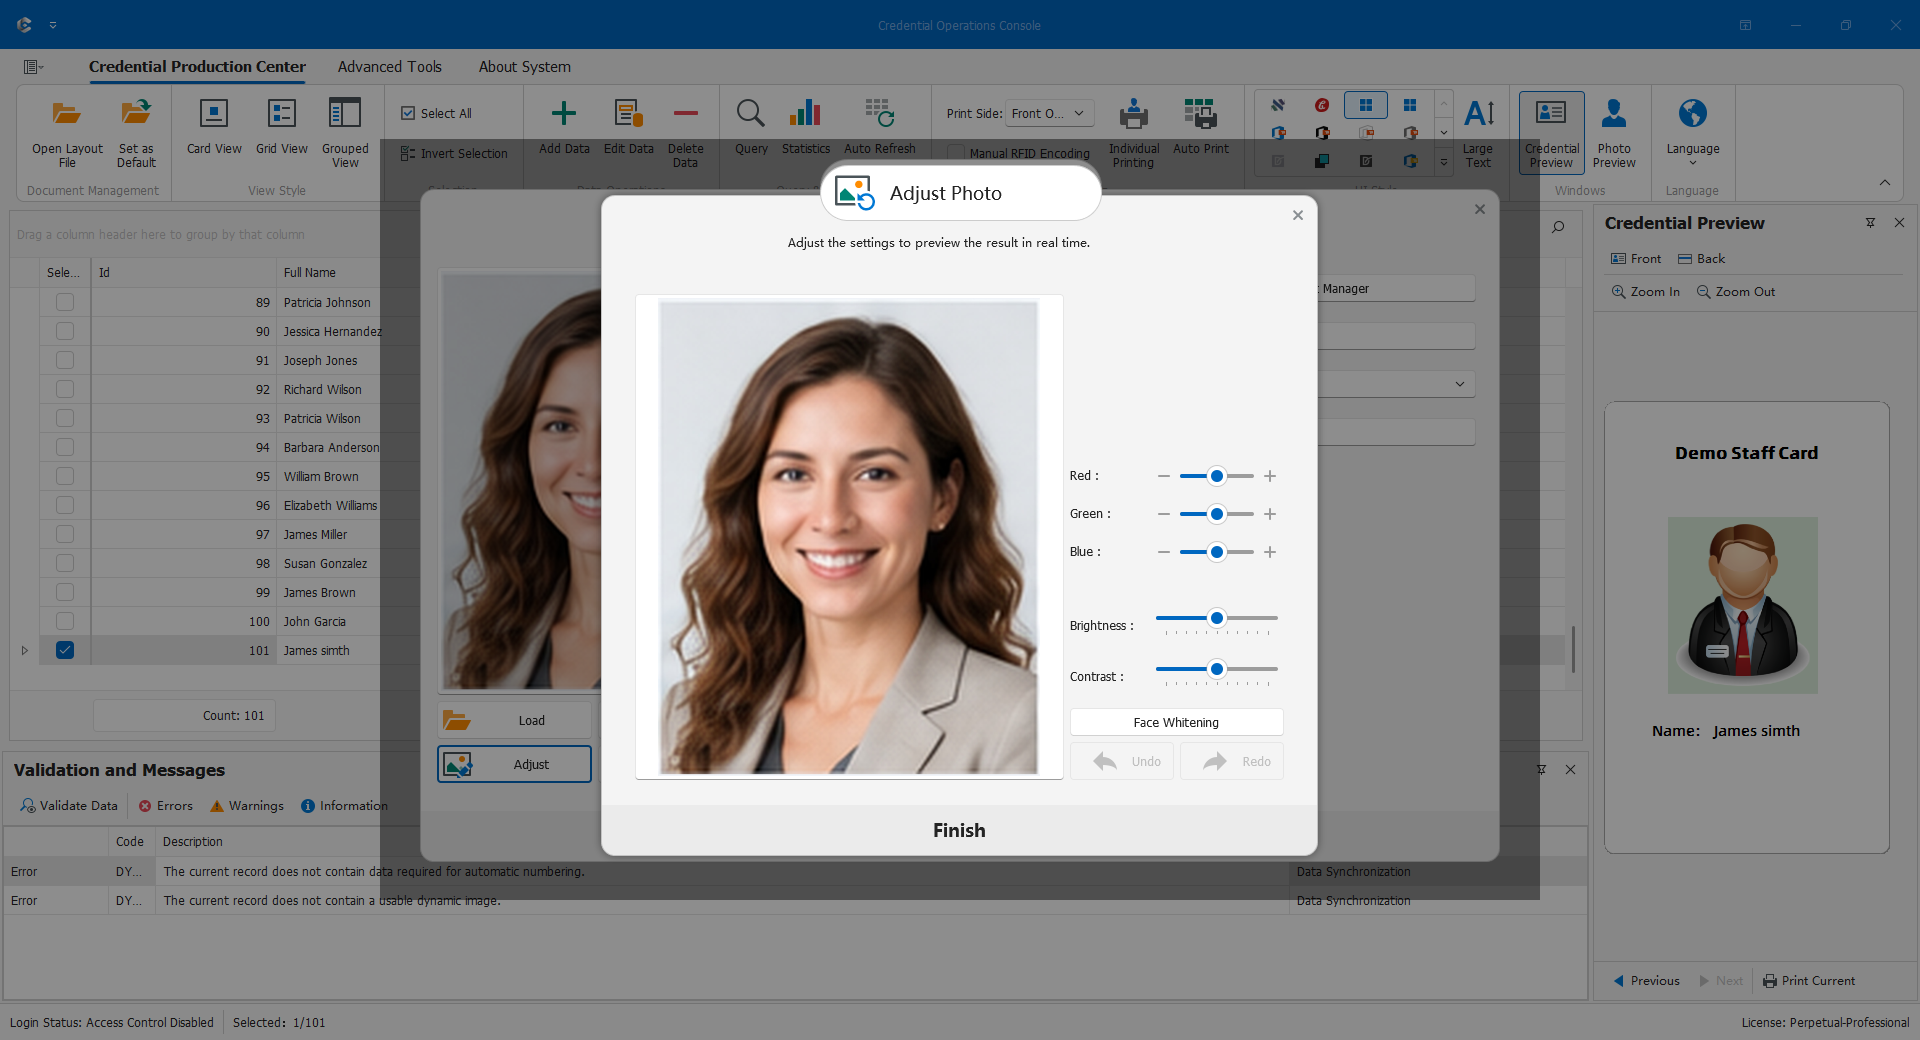
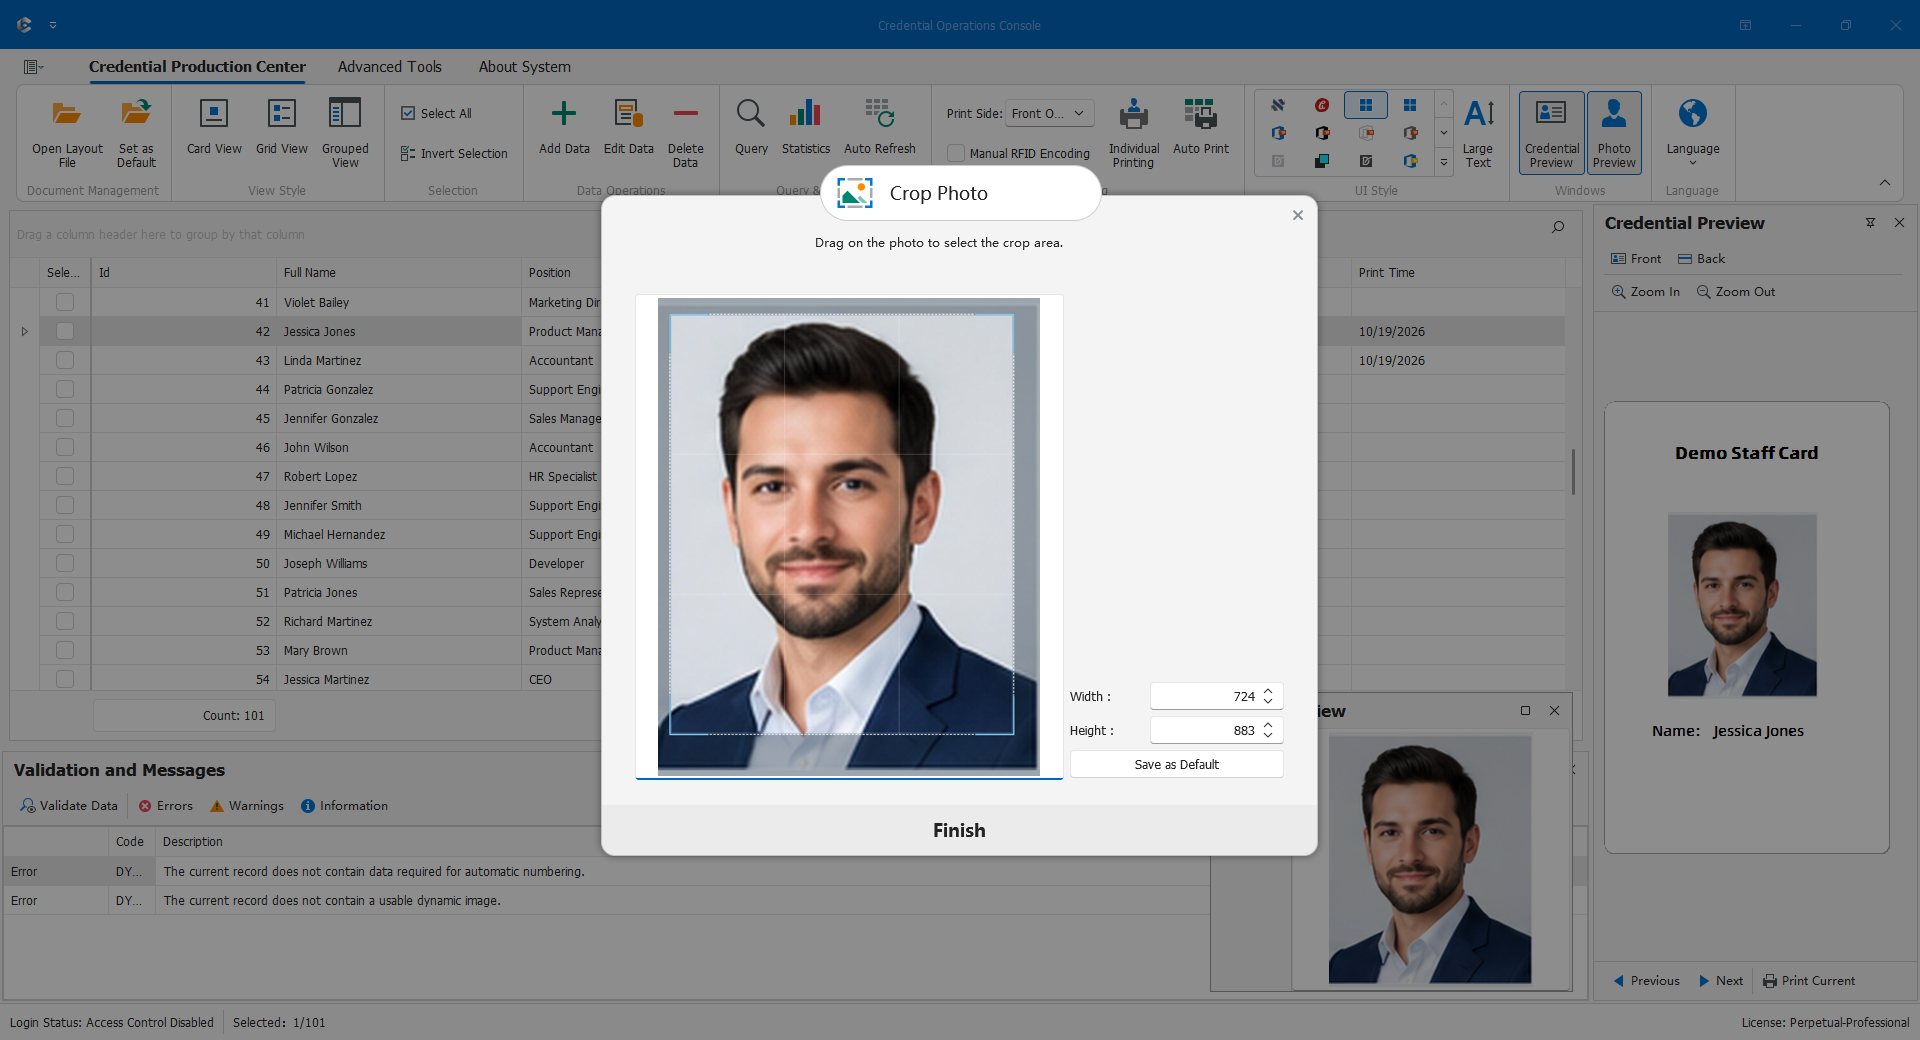
Verify person/original, enter Crop, and drag a selection with the left mouse button. Set output dimensions and preserve head, chin, and shoulders. Adjust brightness, contrast, and color moderately without changing identifying features. Check both previews and formally save through the maintenance workflow when required, then reread.
Main-window preview crop/adjustment changes the current preview/runtime card, not necessarily the source library. Switching records or reloading reads the source again. Maintenance-form local-file processing can overwrite files as noted above. Saved default crop dimensions are conveniences, not universal specifications. Preserve true skin, facial features, and identifying details.
5.4.5 Batch Photo Processing
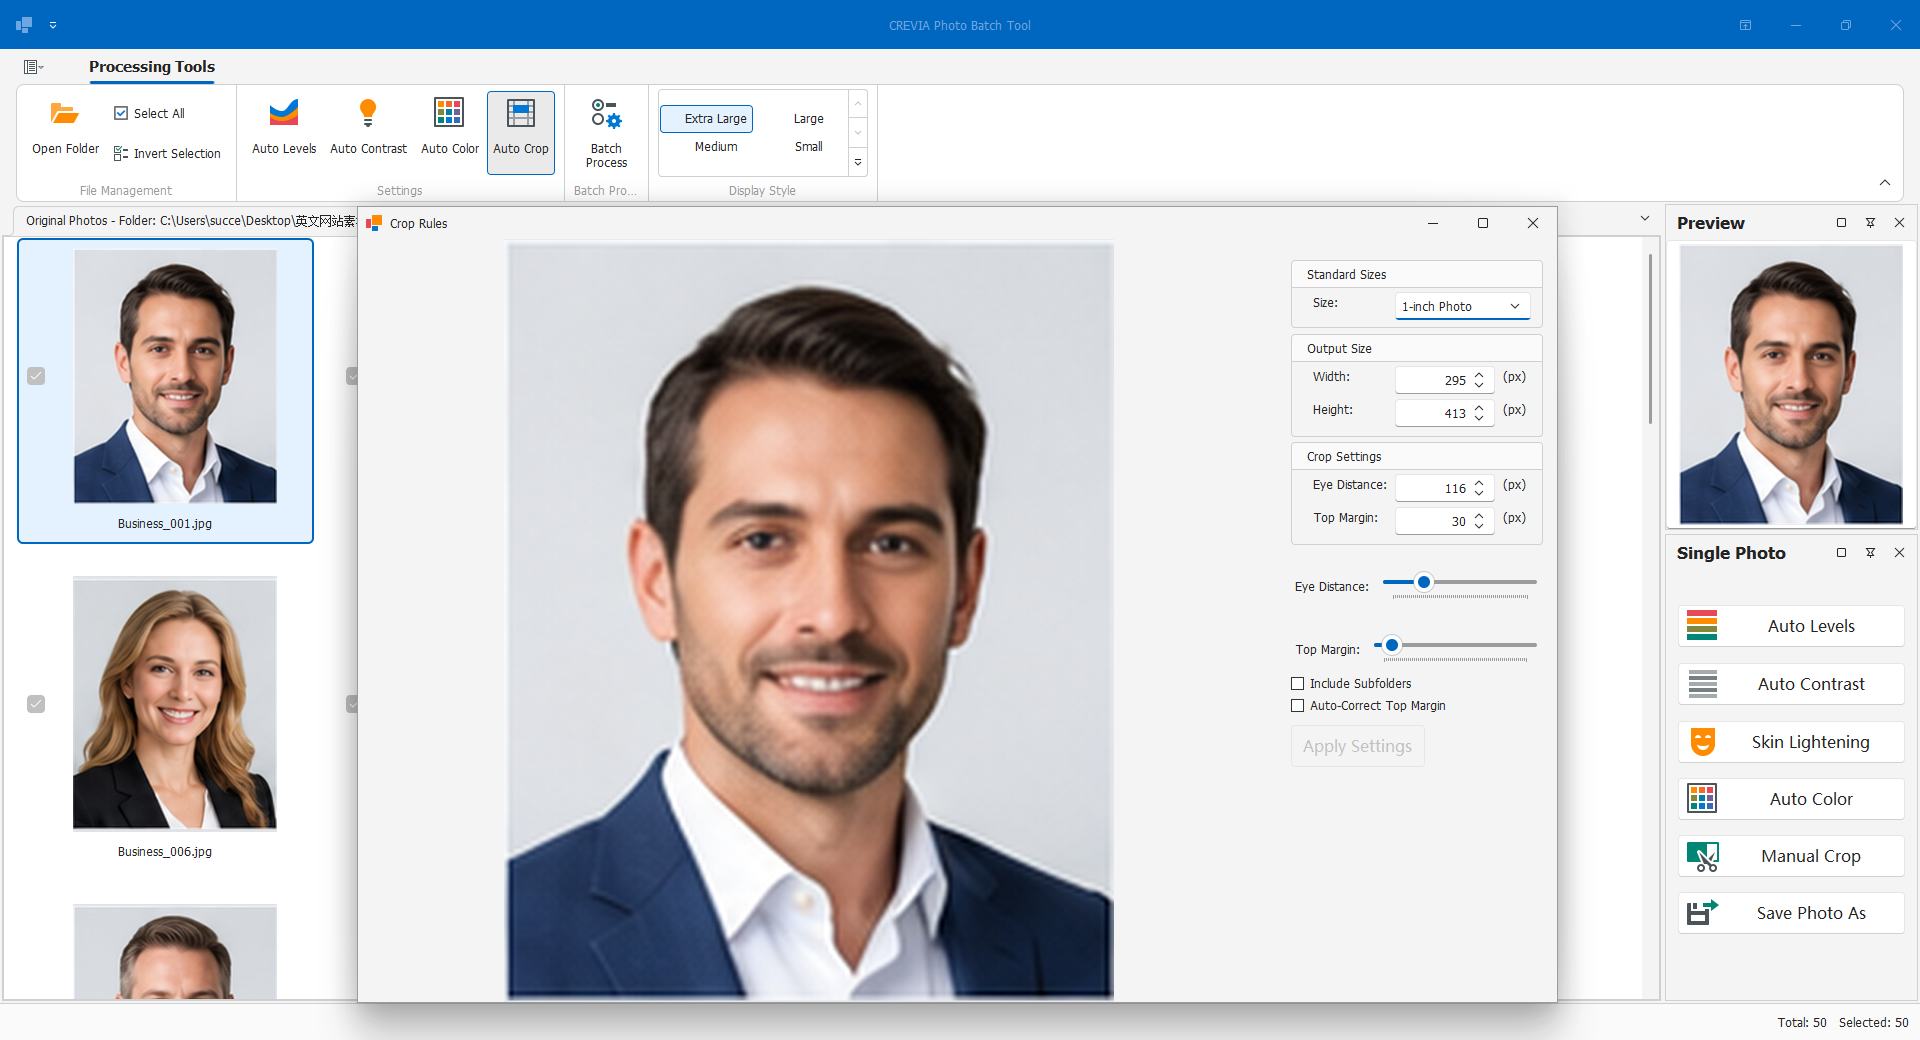
The professional batch tool processes folder files with combinations of automatic color, levels, contrast, cropping, and background handling. It does not batch-write current personnel database photos.
- Preserve originals and load an independent working folder.
- Check totals, selections, and previews; trial different lighting, hair, and poses.
- Enable only required operations and crop rules, then inspect a small trial.
- Process the approved selection after checking successes and failures.
- Inspect output files and failure lists, correct exceptions manually, then separately replace the project photo source or use synchronization.
Results go into the source directory's processed-output subfolder; failures use the locations reported by the tool. Repeated processing may overwrite same-name results. Preserve versions and inspect the actual localized directory names. Transparency may change the output extension to PNG rather than JPG.
5.4.6 Intelligent Cropping and Transparency
Face-based cropping uses recognition and composition rules; transparency extracts the portrait for card backgrounds. Administrators must deploy required components and models, including on offline workstations. A visible switch does not prove model availability.
Establish composition/aspect ratio before background removal. Review hair, ears, glasses, collars, skin-like backgrounds, multiple faces, occlusion, backlight, blur, and angled faces. Route failed recognition to manual review. Save transparency in a supporting format such as PNG; JPEG cannot retain alpha. Check edges in the actual layout and test print, not just the isolated preview.